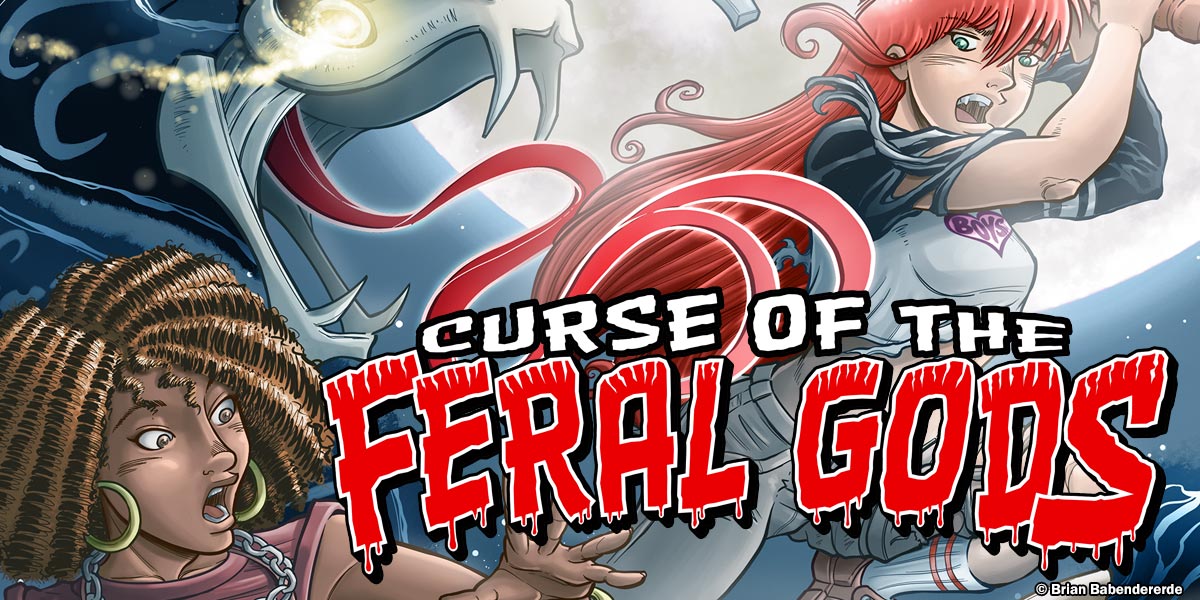
I’m so excited (and exhausted) after finally completing and releasing the latest epic tale in the Soul Chaser Betty saga: Curse of the Feral Gods. Of course, the book is available now for download in the store, but this week I wanted to go behind the scenes and show how the art gets made from conception to final book!
So, let’s check out how an action panel from page 20 goes from that first chicken scratch to a final image.
Page 20 Crash Panel: Layout
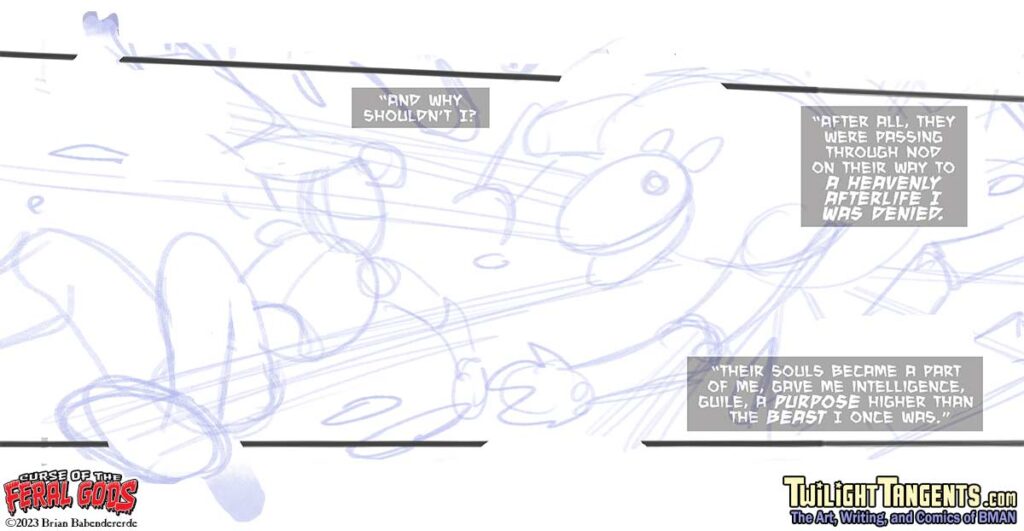
The first stage of creating the art for a comic panel. At this stage, it’s all about figuring out how the story is being presented. I’m not too concerned with anatomy, so much as blocking out how the panel is going to flow at a very basic level. The rougher the drawing, the easier it is to try different approaches until I get something I think will work. Note that I’ve included the letters, even at this early stage—I don’t want to be surprised later and realize I didn’t leave enough room for dialogue. I want to know how everything is going to flow!
Page 20 Crash Panel: Roughs
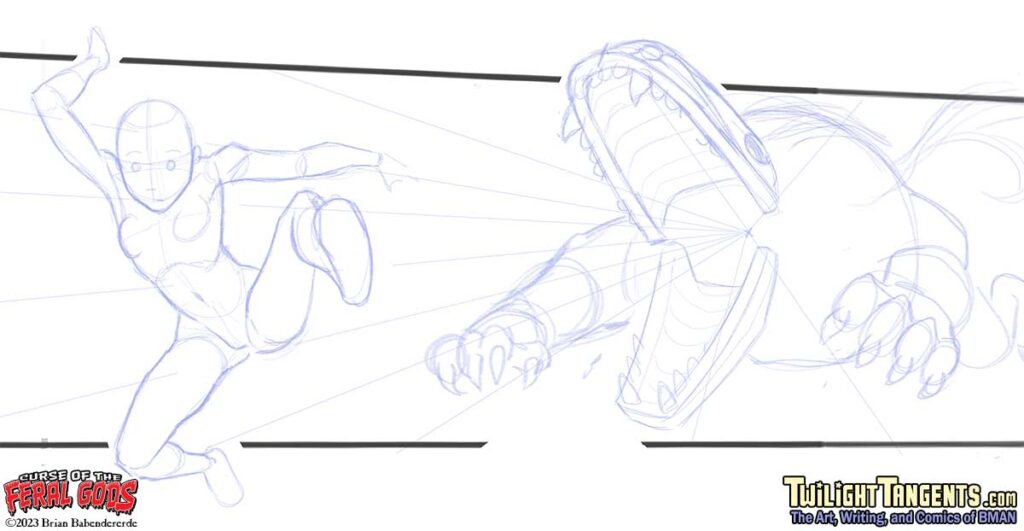
With the layouts done, it’s time to go back and start making them pretty. At this stage, it’s all about blocking in the basic anatomy, figuring out where the horizon is, (or in this case, the starting point for the speed lines), and just getting the basic forms roughed in. I rough the entire page in, setting the stage for each panel, but I leave all the finer details for the final pencils later in the day.
Page 20 Crash Panel: Pencils
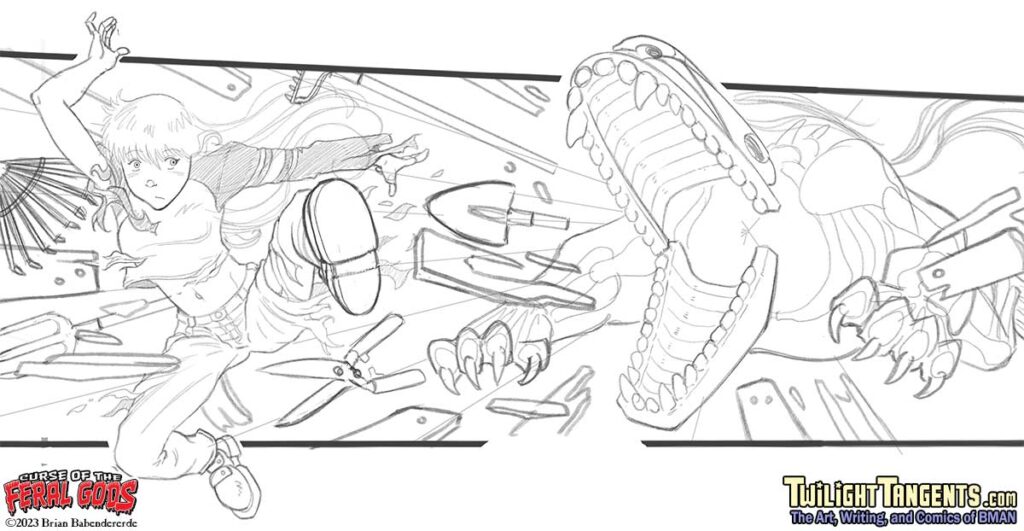
Now that I’ve got the basic forms all figured out for the entire page, it’s all about penciling the details in for each panel. I’m adding more definition to anatomy where needed, but also putting in clothes, backgrounds, and props. I try not to spend too much time on things like line variation and shading. That comes in the inks and “color” stage.
Page 20 Crash Panel: Inks
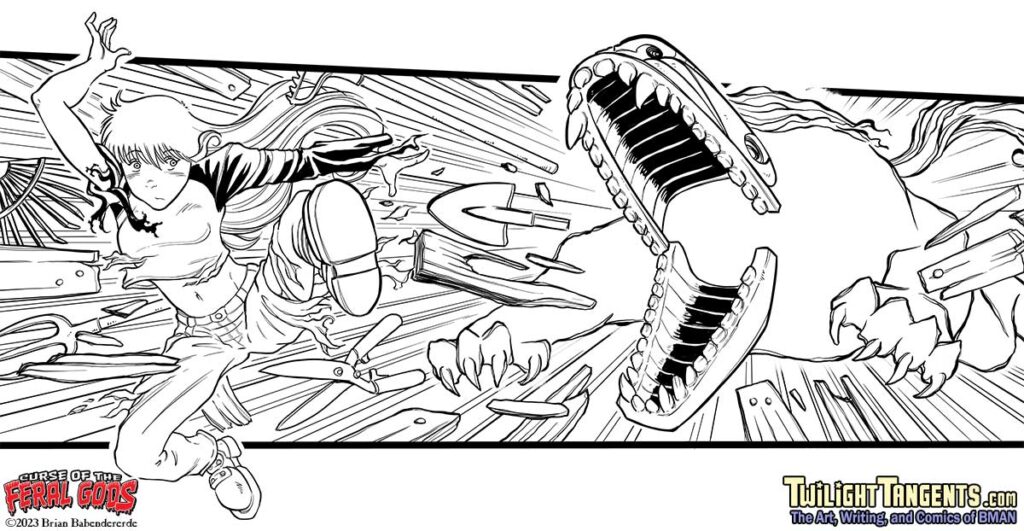
Inking is all about finishing the pencil line drawing with varying weights and shadows to add dimension and tighten everything up. I try to ink every panel to stand on its own in pure black and white, but I know the shading stage is going to add a lot of its own definition and flavor.
Page 20 Crash Panel: Flat Grays
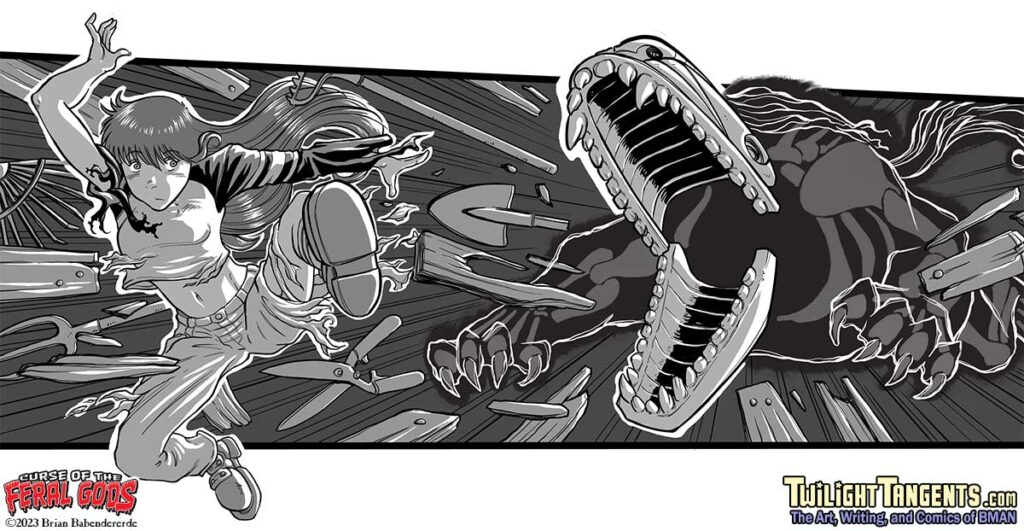
The first step is to “flat” the drawing, which means applying flat shades of “color” (or grays in this case). These are chosen to approximate the final shading tones, with white used as the brightest highlight throughout everything. Note that I’ve also changed some ink linework to white to add a different feel to the creature. In the past, this might have been the final stage, but with with my latest books, I’m just getting started.
Page 20 Crash Panel: Paint
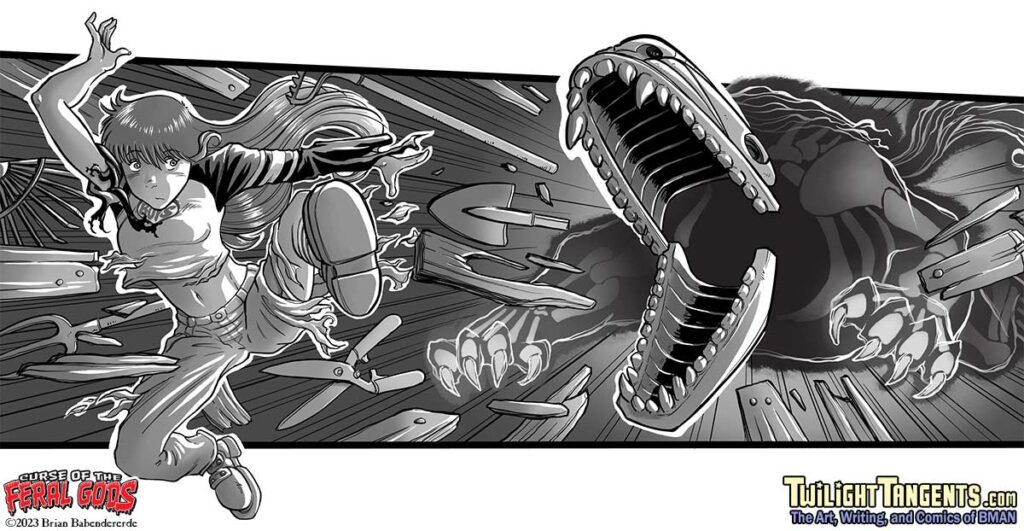
Painting the panels is one of my favorite stages! At this point, all of the various “flat” colors are on their own layers—skin tones, clothing, props, hair, background, etc. So it’s easy to simply select that layer and paint right in to the existing grays to add shading.
Page 20 Crash Panel: Final
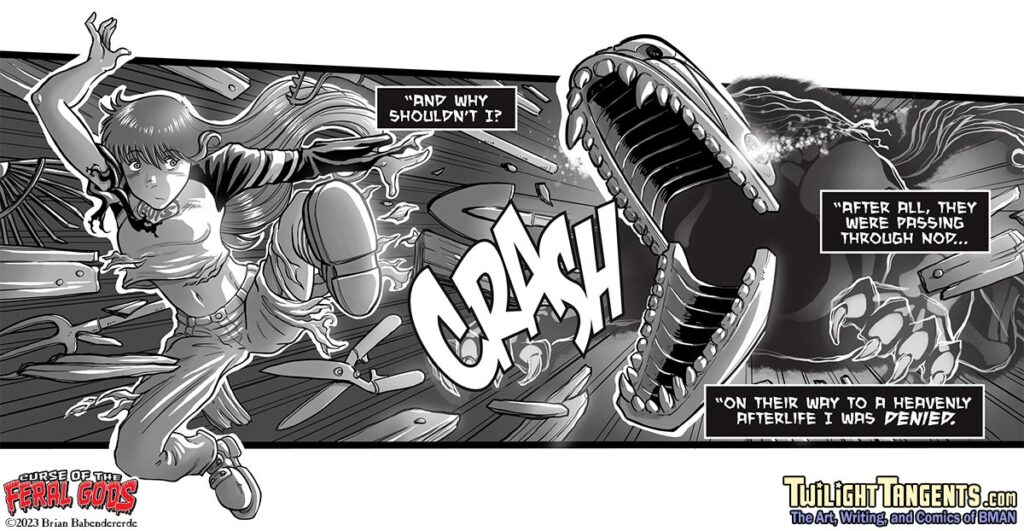
The final stage adds a top layer of effects, such as glowing eyes. Bloom and bounce lighting adds the final touch. Note that I decided to change some of the lettering to move a few words to the next panel.
Final Slideshow
And here’s all the art in a slide show. Use the arrows to move back and forth and check out how the art changes from stage to stage.
And that’s how the sausage gets made! Be sure to check out the book trailer (yes, there’s an animated book trailer!) and release info here!

