Hey, I’m back with another look at how the art for Salvage Hounds Volume 2 was made, from chicken scratch ideas to the final pages.
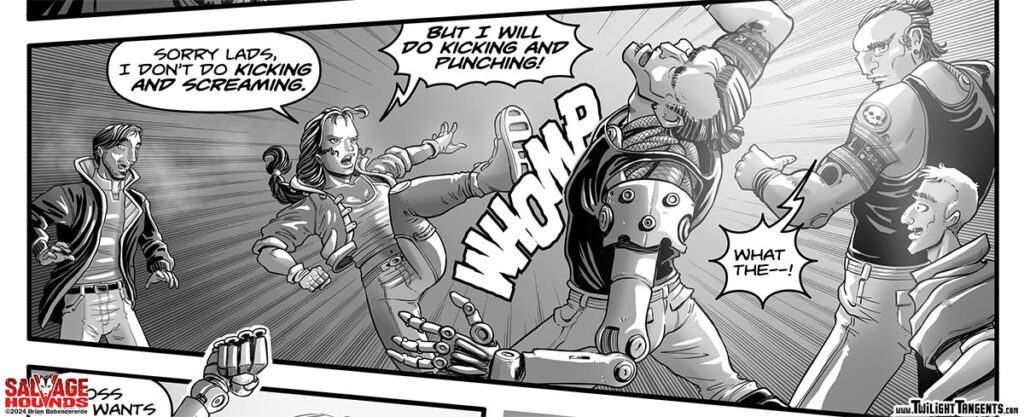
This time, we’re going to dive a little deeper into how the panels get painted in grays for that “Salvage Hounds feel.” So, let’s take a look at a panel of Olivia kicking a little ass!
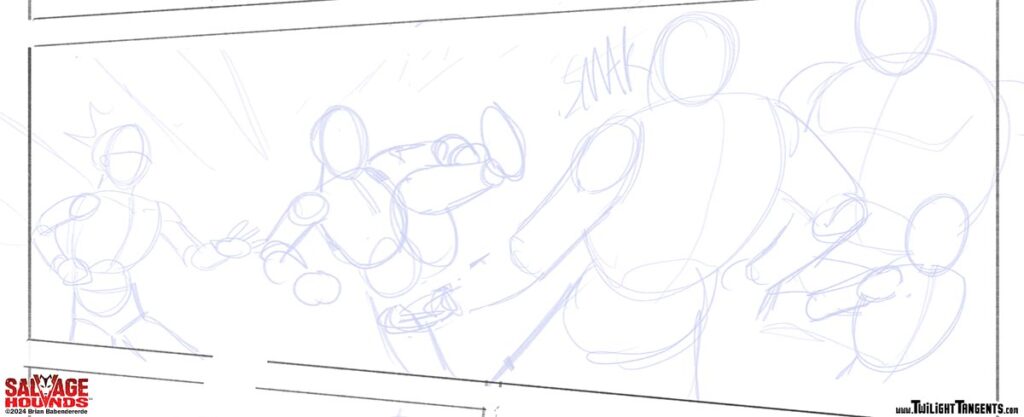
Here’s the original layout. At this stage I’m just working out what the panel is going to contain. I’m not too worried about anatomy or details here, obviously, since no one but me is ever going to see it… Except you’re seeing it now, oops.

From there I take the basic idea and do a proper rough drawing. Now I need to pay attention to form and anatomy, but not the details. That comes in the next stage—once I’ve got the rough structure, it’s time to do a more finished drawing, complete with expressions, clothing, and other details.
Use the slider to compare the rough to the final pencils:


Next up, it’s time to ink! That means using line variation and black fills to add depth and contrast based on the light source.
Use the slider to see how the pencils get inked.


The next step is shading. I start with flat grays. These are added as separate layers, for example, one layer for all the skin, one for all the clothes, one for all the hair, etc. This makes it easy for me to isolate each element and paint them in the next step.
After the flat grays are in, it’s time to add some light. I like to use the white of the page as my brightest whites, so that means cutting out the shapes of the brightest highlights on each element. To do this, I think about where the light is coming from and imagine how it will hit the figures in three dimensional space in a dramatic fashion.
use the slider to see where the light hits the scene.


Next up is the painting process. I go back and add depth by painting in shadows and lighter tones where needed.
Use the slider to see how the image goes from flat grays to painted grays.


The final stage is adding the last details, mostly concentrating here on the way the light overlays the inks, as well as adding some smoke—appropriate for a good bar fight setting!
Letters and sound effects add the final element:

Next up, let’s take a look at a scene with some new, mysterious characters… and Fitz and Pounder, too, of course.
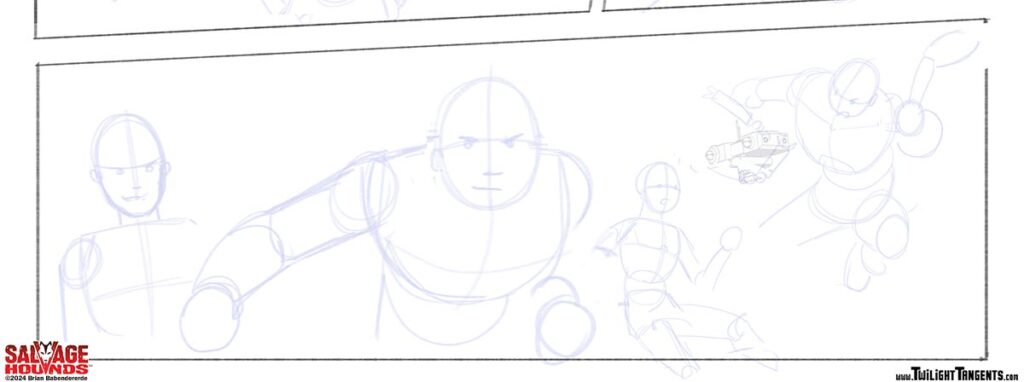
My initial layout has some stick figures representing Syd on the far left and her lackey muscle, plus Fitz and one of Syd’s other lackeys in the background. Pounder is brought in as a 3D render, similar to the way I do ships, though his arms are usually drawn in from scratch.

Note that the panel has really changed as I start to do a more complete rough. I decided it would be better to have Syd take center stage and have her lackey use his giant cybernetic arm to protect her. Next, I moved on to fleshing out that rough sketch into a complete drawing.
Use the slider to see how the rough turned into the finished pencil.


Then it was time to move on to inking. Use the slider to see how I added detail to the pencils with pen and ink.


Once again, we have the gray stage. Here’s the original flat grays compared to a version with the patches of light roughed in.


Then it’s time to paint, using light and dark to try and bring some more depth to the scene.


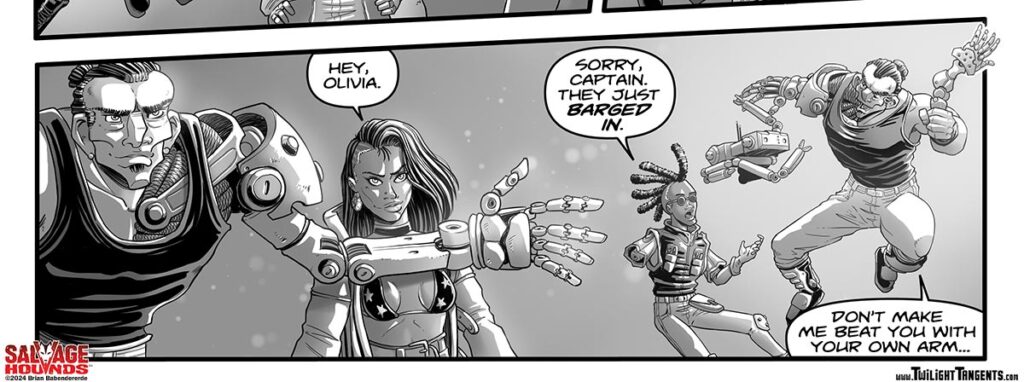
And finally, the last step is adding effects to tie the scene together, such as light bouncing off the metal arm, splashing over the background characters, and even motes of dust. With the letters added, the panel is done.

I hope you’ve enjoyed peeking behind the curtain to see how much hard work goes into making comic art.
Salvage Hounds Vol 2 releases this fall, featuring a 26 page story and 6 pages of detailed character designs and ship schematics. Stay tuned for more info on a street date!

